Blocknet Staking – Everything You Need to Know
Blocknet (BLOCK) is an innovative cross-chain platform that enables atomic swaps and decentralized exchanges based on a true peer-to-peer protocol. Thanks to this solution, users can transact directly between each other with no middlemen, no matter the coin they own, nor the blockchain they’re using. By staking Blocknet, you’ll be able to earn a relatively high ROI annually, secure the network and confirm transactions.
In this article you’ll learn all there is to staking Blocknet, how to configure your wallet and optimize your profits.
Pros and Cons
- Cross-chain platform compatible with coins, tokens and other blockchains
- Completely decentralized – connections are Peer-to-Peer
- A strong community with active development
- Functionality is limited to the testnet
- The coin’s future is uncertain aside from it being used to create service nodes
How to Stake Blocknet
Blocknet staking works on a principle of randomness. For each block created, 30% goes to the staker that confirmed it and participants’ chances to be selected for the job increase with the number of coins they own. One of the reasons why staking BLOCK coins might be of interest to you is the ability to run atomic swaps. I’m sure many of you will appreciate the availability of this function and the benefits it brings, namely independence and the possibility to freely negotiate terms, while also having instant transactions. Another reason to stake Blocknet is the fact that Bitfinex is currently partnering with Blocknet to use their protocol for their own decentralized exchange – Ethfinex. The integration of Blocknet alongside other major projects will allow for increased interoperability, support for smart contracts and thus further increase the network’s value. Before we continue with the wallet configuration, check out the list of minimum requirements required for staking Blocknet.
Minimum Requirements
- Windows / MAC / Linux
- Installed Blocknet Core Wallet
- Minimum disk space of 12 GB
- 1 GB RAM
- No minimum or maximum internet speed
- You need to keep the wallet online 24/7 (if you decide to log out of your wallet or shut down your PC, it will stop the staking process (cold staking is not available)
Summary: Currently the possible option is to buy cryptocurrency for fiat at Kraken for example, then trade it to an exchange where Blocknet is listed (like Bittrex). The next step is to exchange the currency you bought for Blocknet. Once you’re done with that, you should install the core wallet, encrypt and backup it, then transfer your coins from the exchange to the wallet. After 60 confirmations (one hour) you will be able to unlock your wallet for staking.
Blocknet Wallet Setup (GUI)
Step 1: Download & Install the Official Wallet
Download the latest wallet release from https://github.com/BlocknetDX/BlockDX/releases with the “Latest Release” tag. Please do not use a “Pre-Release” build. Extract the downloaded archive and run the blocknetdx-qt executable. Remember that you need at least 12GB free disk space to host the Blocknet blockchain.
Step 2: Let the Wallet Sync
This process should start automatically from launching the wallet. You need to wait for the whole blockchain to synchronize before your wallet is fully functional.
Step 3: Encrypting the Wallet
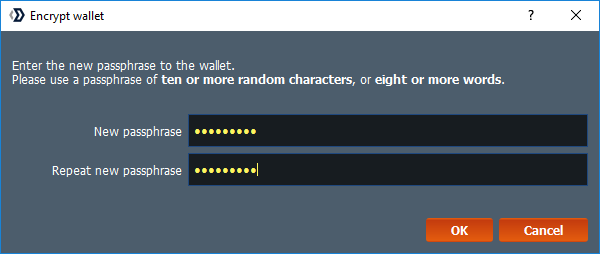
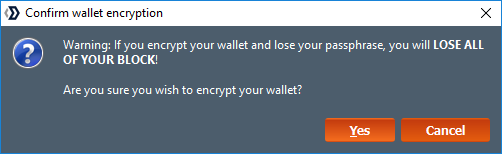
Encrypting your wallet allows you to set a password for anyone who is trying to use it. This helps protect against thieves or unwanted access to your funds. You can encrypt your wallet by going to Settings -> Encrypt Wallet.
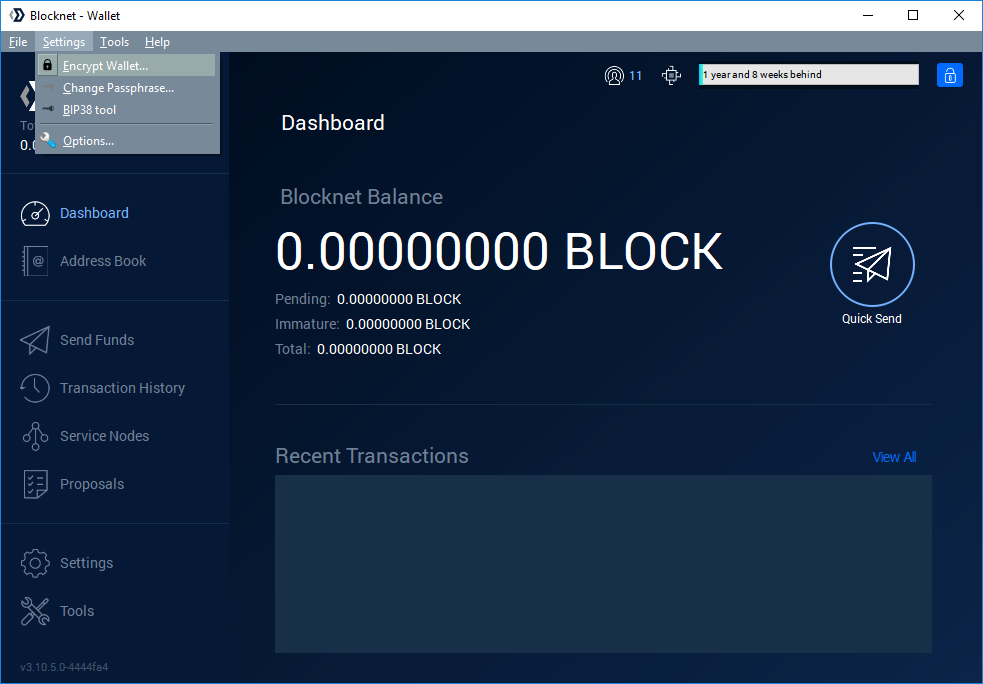
A prompt to create a password will appear. Make sure to back up this password in a safe place. It may be required to restart the wallet after the encryption.
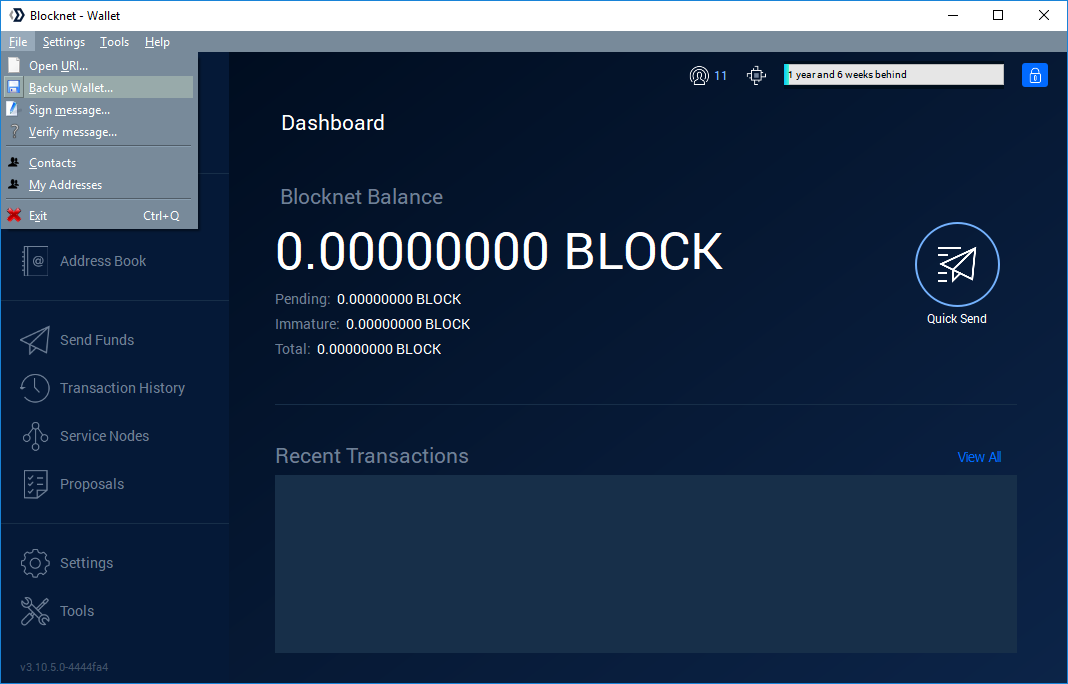
Step 4: Backing up your Wallet
Stored in a safe place, a backup of your wallet can protect you against computer failures and many human mistakes. The backup allows you to recover your wallet when needed. You simply need to go to File -> Backup Wallet and to choose the desired filename for your backup.

Step 5: Transfer Coins to the Wallet
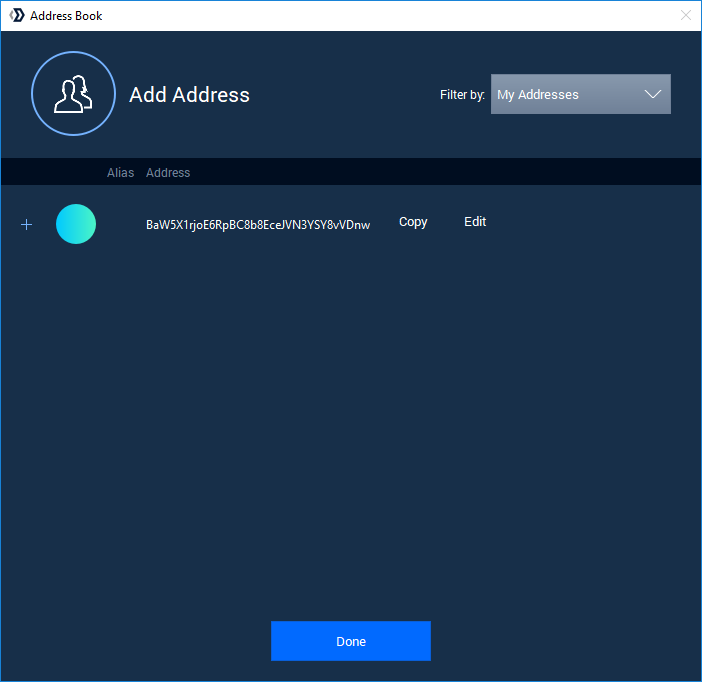
Once fully synced, you will need to deposit funds to the wallet. You can withdraw your coins from the exchange where you bought Blocknet and send them to your wallet. To view your wallet address, go to File > My Addresses.
Step 6: Unlock the Blocknet Wallet
To start staking, go to Settings > Unlock Wallet. Enter the password created above and then click the “OK” button. If the funds were just deposited for the first time, they need to mature (reach confirmation threshold) so it may take an hour or so for the icon to turn green (60 confirmations).
Staking with the Command Line Wallet (CLI)
Your second option for staking is using the CLI wallet. This one is for advanced users or those of you seeking a less resource intensive alternative. To operate with it, you’ll need some command line skills and knowledge of Linux and VPS operation is a plus.
Step 1: Download & Installing
Let’s begin the process by downloading and installing the wallet. Open your terminal and type in the following:
sudo apt-get install git
sudo apt-get install curl –y
curl –s https://api.github.com/repos/BlocknetDX/BlockDX/releases/latest | grep browser_download_url | cut –d ‘”’ -f 4
These commands will provide you with the latest official release of the wallet. For the purposes of this example I’ll be using Linux, so we’ll need to download the appropriate file and extension. In this case, x_86_64-linux ending in .tar.gz. Copy the link for the next command.
wget [Paste the link which ends on tar.gz]
Example:
wget https://github.com/BlocknetDX/BlockDX/releases/download/3.10.5-redesign/blocknetdx-3.10.5-x86_64-linux-gnu.tar.gz
After you’re done, unpack and then remove the junk file. Change the numbers if you have a newer version.
tar -xzvf blocknetdx-3.10.5-x86_64-linux-gnu.tar.gz rm -rf blocknetdx-3.10.5-x86_64-linux-gnu.tar.gz
This will remove the file which we unpacked. Be careful which blocknetdx file you remove. The one that ends with .tar.gz needs to be removed.
Next up, launch the wallet using the line below:
cd blocknetdx-3.10.5/bin
./blocknetdxd -daemon
Keep in mind that the newest version available, at the time of writing this article, is 3.10.5. Your version might differ, so adjust the numbers accordingly. To make sure you’re not typing wrong, use the double tap feature:
cd blocknetdx-[double tap]
cd bin
./blocknetdxd -daemon
The client will stop the launch because it doesn’t have a rpcuser and rpcpassword in its config file. Don’t panic as this is normal when starting the wallet for the first time. Type in:
cd ~/.blocknetdx
nano blocknetdx.conf
Now you need to type in a rpcuser and rpcpassword. Type in:
rpcuser=[Replace with a username]
rpcpassword=[Replace with a password]
Press Ctrl+X, V and Enter. Now let’s go back to the wallet. Type in:
cd ~/blocknetdx-3.10.5/bin
./blocknetdxd -daemon
Step 2: Encrypt the CLI Wallet
As we mentioned before, encryption is a crucial step towards your security. Type in the command below to encrypt your wallet. Replace
./blocknetdx-cli encryptwallet [your password]
Remember your passphrase as if you forget it, there will be no way to restore access to your funds.
The wallet will stop. You’ll need to launch it again with the following command:
./blocknetdx –daemon
Step 3: Backup the CLI Wallet
This step is extremely important and should not be skipped. To back up your wallet type in:
./blocknetdx-cli backupwallet [Your selected folder / external driver / USB]
Example:
./blocknetdx-cli backupwallet ~/blocknetdx-3.10.5/bin
Step 4: Transfer Coins to the Wallet
Now it’s time to create an address to which you can send your coins for staking. Type in:
./blocknetdx-cli getnewaddress
Go to the exchange where you have your coins and send exactly 1 BLOCK to the address. After you confirm that the coins are on their way you can send the rest of your coins.
Step 5: Unlock the CLI Wallet
Before we can start staking Blocknet we need to unlock the wallet. Type in:
./blocknetdx-cli -cli walletpassphrase [passphrase] 0 true
<passphrase> – the passphrase you used to encrypt your wallet.
0 – number of seconds which your wallet will stay unlocked. 0 means unlimited.
true – unlocked only for staking.
And that’s it. You should be ready for staking. Now let’s check your staking status. Type in:
./blocknetdx-cli getstakingstatus
This command will show you which necessary steps are done, and which are not. If you see “false” that means that that step is not configured or incomplete.
Blocknet Staking Reward
Now that you’re already staking, it’s logical that you would be interested in learning how Blocknet rewards are distributed. For each block, the sum of coins rewarded is split 30/70 between staker and masternode. To be exact, the block reward is 1 BLOCK and as such, the staker receives 0.3 and the masternode operator 0.7 BLOCK. The return on investment you can expect is between 9% and 14% for the first year.
The probability of earning a block reward can be calculated by dividing the amount of BLOCK you’re staking, and the total amount of coins staked in the network. Besides block rewards, in the future, stakers can also expect part of the fees from exchanges, but those are currently limited to service nodes only. While on the topic of masternodes, they do see a higher ROI but to establish one, you’d need to invest at least 5000 BLOCK. Furthermore, it is recommended you run multiple full blockchain wallets to increase your chances of profit and receive fees for transactions, depending on the type of coins processed.
Should you decide to start staking Blocknet, you will see an ROI near that of Service nodes, however, you have the added benefit of being able to start with an amount you see fit. The downside is that staking in general depends on luck. Unlike hosting a node, where the initial payment is bigger, but the income is guaranteed and more easily calculated. In any case, both options will yield satisfactory results and it’s a matter of personal preference which one you choose.
How to Maximize Rewards
In all honesty, there’s no direct way to influence the amount of coins rewarded. Adding to that, the Blocknet wallet doesn’t currently support any way of optimizing your chance of income, such as Coin or Dust Control.
I don’t recommend joining a staking pool either, as it’s a risky endeavor and there are no pools recommended by the official development team of the coin.
Figure out Your Profit with the Blocknet Staking Calculator
Below, you will find a dedicated calculator for calculating your Blocknet staking profit. Keep in mind, that to get your net income, you will need to deduct your electricity costs. If you want to use a dedicated machine for staking that’s not resource intensive, I recommend obtaining a Raspberry Pi and running a CLI wallet.
FAQ
No, as it’s a Proof of Stake coin only.
Yes, but there’s no dedicated wallet. You’ll have to use the command line wallet or Linux wallet instead, which I’ve provided a detailed guide to in the article.
The coin maturity period is 100 blocks and then you’ll be eligible for staking. It’s reset each time you win a reward. The initial maturity for depositing coins in the wallet is 60 blocks.
I would say yes, as the project is unique and have great potential in the field of Decentralized Exchanges (DEX).
No, as there’s no max supply put in place.
The main idea behind staking is earning without investing in expensive hardware compared to traditional Proof of Work cryptos. Furthermore, there’s the availability of masternodes and a relatively high ROI of around 13 percent.
You have either not waited long enough for your coins to mature, or you haven’t configured your wallet properly.
About Blocknet (BLOCK)
Blocknet’s creation was back in October 2014 and during the ICO on Bittrex, which spanned from October 29th until November 5th, a combined total of 969 BTC worth was raised. Based on prices back then, one BTC was $335 which translates into a total worth of $325,000. The project was founded on the principles of transparency and high levels of decentralization. What’s unique about it is the fact that there’s no single entity behind the coin. Instead, Blocknet is guided by all participants, including stakers and node operators, who together decide on future changes. Self-governance is managed using the Superblock mechanism, which allows proposals to be launched and voted for at particular stages in the blockchain’s expansion.
Unique Selling Points
A crucial feature of Blocknet is its cross-chain technology, which will allow for blockchains to become interconnected, mobile and modular. P2P connections are a driving force in the platform, which allows for higher security, increased speed, and efficient scalability. A newly introduced feature called XRouter allows for cross-chain communication without the need to download copies of entire blockchains. The Blocknet protocol enables inter-chain SPV wallets.
Team
The founding team consists of two people – Dan Metcalf who is a key figure in the development team and Arlyn Culwick who supports the auxiliary team. Arlyn is an independent researcher who designs blockchain software for enterprise solutions, while Dan has over twenty years of experience in coding and deploying advanced infrastructure solutions for software and hardware platforms.
Network
Blocknet’s network, by nature, will always involve at least two blockchains as its goal is to deliver cross-chain interoperability. To manage and validate those transactions, we need not only stakers but also service nodes, which are crucial to the blockchain’s operation.
Privacy
Crucial to some of you readers, Blocknet offers an almost perfect mix of a privacy-oriented coin and a decentralized exchange that works with IP-obfuscating technology. Its P2P nature allows it to be run without and KYC information requirements and users enjoy high levels of privacy.
Future
Thanks to an active community and development efforts, the future of Blocknet will bring many new features. While there are no concrete deadlines, we can expect to see a mobile wallet app, mobile access to the DEX, offline orders and many more.
Useful Weblinks
- Official Website: http:// blocknet.co
- Announcement Page: https://bitcointalk.org/index.php?topic=829576.0
- GitHub: https://github.com/BlocknetDX/BlockDX
- Block Explorer: https://block.ccore.online
- Whitepaper: https://www.blocknet.co/wp-content/uploads/2018/04/Blocknet_Whitepaper.pdf
- Socials:
- Twitter Discord Telegram Reddit/Subreddit Facebook